Introduction to programming in C with SDCC: Compiling and testing a "Hello World"
Pincha aquí para verlo en español
At the time of this writing, the latest stable version is v3.1.0 SDCC, which was released in November 2011, although we can download a snapshot with all the latest, as they are generated automatically every day. You can download the installation of its official website. Installation on windows is automatic and for other platforms you can read the documentation. Once installed we can basically invoke the compiler from any directory on your pc. Because the compiler generates code in hexadecimal format (Intel Hex file) we will also need hex2bin application (windows executable) to convert it to binary format.
As discussed in "Programming in c and assembly language: Compilers and alternatives for PC" SDCC is a generic compiler does not know about Amstrad or spectrum. To get the compiler to generate binaries that run on our cpc, we need to do some minor adjustments. In CPCWiki there is a comprehensive tutorial about it called "SDCC and CPC", but that seems obsolete today, but let's take it as a reference.
By default SDCC generates code for z80 running at address 0, this does not apply to Amstrad, so we have to provide a file of 'startup' with guidelines for the start / program. To do this we will use the same file as the tutorial in CPCWiki, who wrote Hans Hansen in 2003.
With any text or code editor (with notepad in Windows) generate a file called crt0_cpc.s with the following contents (at the end of the tutorial can be downloaded all in one zip):
;; FILE: crt0.s
;; Generic crt0.s for a Z80
;; From SDCC..
;; Modified to suit execution on the Amstrad CPC!
;; by H. Hansen 2003
;; Original lines has been marked out!

  .module crt0
  .globl  _main

  .area _HEADER (ABS)
;; Reset vector
  .org  0x100 ;; Start from address &100
  jp  init

  .org  0x110

init:

;; Stack at the top of memory.
;;  ld  sp,#0xffff
;;  I will use the Basic stack, so the program can return to basic!

;; Initialise global variables
  call    gsinit
  call  _main
  jp  _exit

  ;; Ordering of segments for the linker.
  .area _HOME
  .area _CODE
  .area   _GSINIT
  .area   _GSFINAL

  .area _DATA
  .area   _BSS
  .area   _HEAP

  .area   _CODE
__clock::
  ret

_exit::
  ret

  .area   _GSINIT
gsinit::

.area   _GSFINAL
  ret
Basically with this we say that our program runs in the address 0x0100 (we can modify it to another address, of course). To use it, we have to compile, as follows:
sdasz80 -o crt0_cpc.s
With this, it generates a file crt0_cpc.rel, which we'll use to compile our code in c. As already mentioned, SDCC does not know about Amstrad, so the compiller not know how to paint a character on screen, if you want to use printf for example, you need to tell the compiler how to make a putchar (printf calls it internally). With any text or code editor (with notepad in Windows) generate a file called putchar_cpc.s with the following contents (at the end of the tutorial can be downloaded all in one zip):
;; FILE: putchar.s
;; Modified to suit execution on the Amstrad CPC
;; by H. Hansen 2003
;; Original lines has been marked out!

  .area _CODE
_putchar::
_putchar_rr_s::
          ld      hl,#2
          add     hl,sp

          ld      a,(hl)
          call    0xBB5A
          ret

_putchar_rr_dbs::

          ld      a,e
          call    0xBB5A
          ret
Basically, we tell him to call the function 0xBB5A firmware to paint a character. To use it, we have to compile it as follows:
sdasz80 -o putchar_cpc.s
Now that we are ready, with any text or code editor (with notepad in Windows) generate a file called sdcc01.c with the following contents (at the end of the tutorial can be downloaded all in one zip):
#include <stdio.h>

main()
{
  printf("Hello world");
  while(1) {};
}
To compile from the command line (or better make a batch file) in the same directory where we have the three files (sdcc01.c, crt0_cpc.s and putchar_cpc.s) run:
sdcc -mz80 --code-loc 0x0138 --data-loc 0 --no-std-crt0 crt0_cpc.rel putchar_cpc.rel sdcc01.c
hex2bin sdcc01.ihx
If all goes well, we have generated a new file sdcc01.bin, which can run on the Amstrad CPC. For testing, we will load the generated binary in an emulator, for this we must create a file dsk (disk image) with the binary that we compiled in order to load / run in the emulator. For this we use for example ManageDSK or CPCDiskXP.
To generate a dsk with CPCDiskXP, we execute the program, then we press in "Dsk Editor", then we press in "New" select the default format "CPC Data" and then we press Ok. Now click "Add Files" to add our binary, look for the directory where we compiled and select the file sdcc01.bin, now CPCDiskXP will ask if you want to add the Amsdos header, press Yes and use 0x0100 value at Address and Entry Address and click Ok. Now we press the button "Save" to store our Dsk, I have called it "sdcc01.dsk" in the same directory. With the latest version of CPCDiskXP, we can generate a dsk from the command line (or bat) as follows:
CPCDiskXP -File sdcc01.bin -AddAmsdosHeader 100 -AddToNewDsk sdcc01.dsk
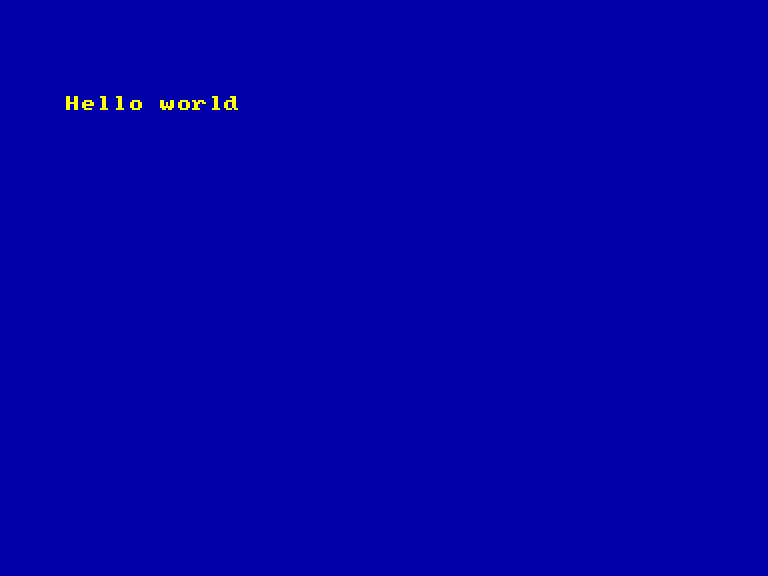
We load the dsk our favorite emulator (I usually use CPCE and Winape) and execute it using run"sdcc01 and you should see the following:
You can download a zip with all files here: Introduction_to_programming_in_SDCC_Compiling_and_testing_a_Hello_World.zip